 Save
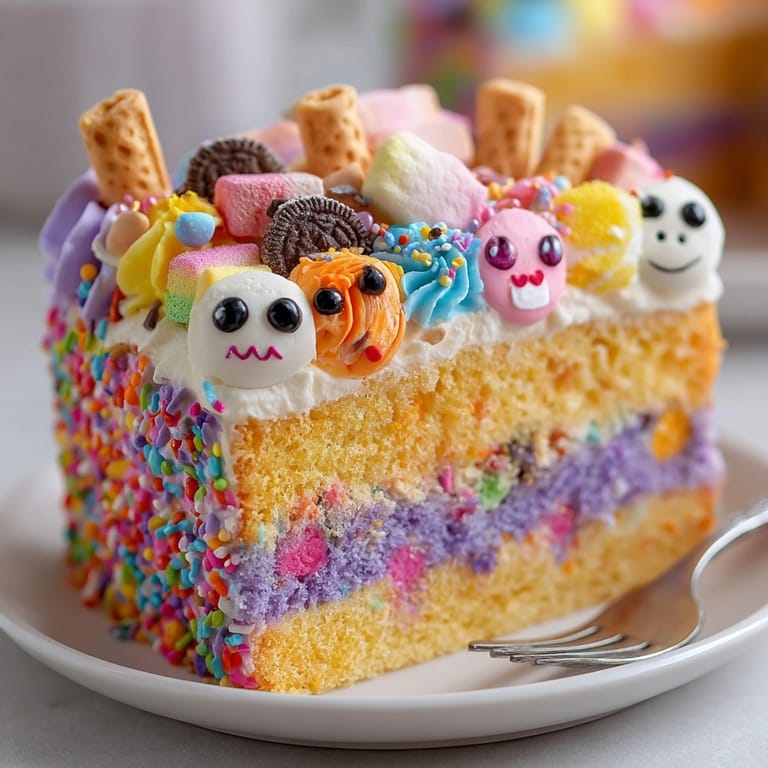
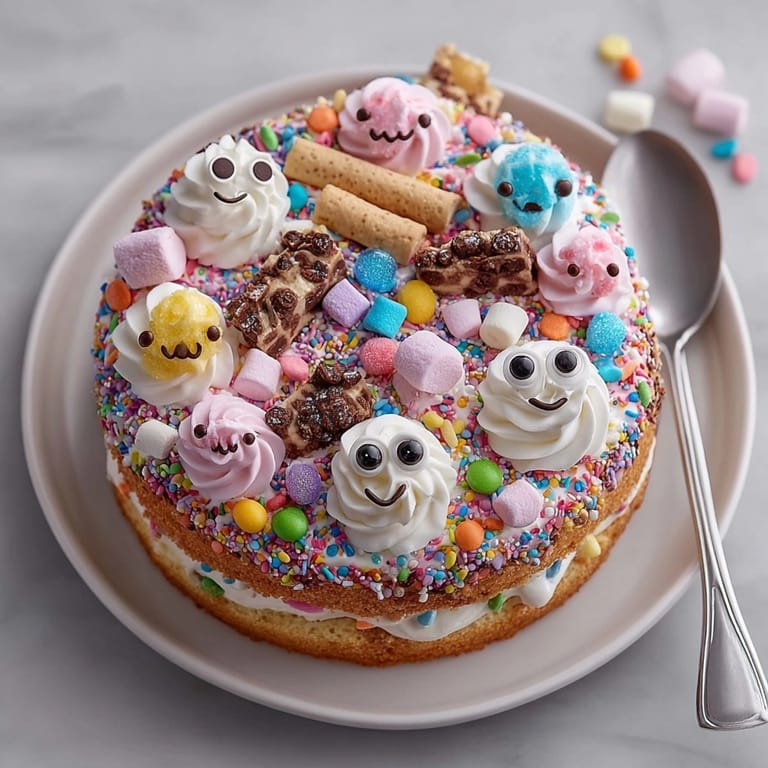
Save This Chaos Cake with Silly Decorations is my go-to recipe when I want to bring pure joy and whimsy to any celebration. The combination of moist vanilla cake layers with vibrant frosting and playful toppings never fails to create smiles and laughter around the table.
I first created this cake for my nephew's "anything goes" themed birthday party. What started as a baking experiment turned into our family's most requested celebration cake, with each version becoming more creative than the last.
Ingredients
- For the Cake: All purpose flour provides the perfect structure for a tender crumb
- Baking powder and baking soda: work together to create the ideal rise
- Salt: enhances all the flavors and balances the sweetness
- Unsalted butter: adds richness and moisture look for European style for extra creaminess
- Granulated sugar: sweetens and helps create that soft texture
- Large eggs: provide structure and richness use room temperature for best results
- Vanilla extract: adds warmth and flavor splurge on pure vanilla if possible
- Whole milk: creates tenderness in the cake full fat makes a difference
- Lemon zest: optional but adds a subtle brightness that complements the sweetness
Tired of Takeout? 🥡
Get 10 meals you can make faster than delivery arrives. Seriously.
One email. No spam. Unsubscribe anytime.
- For the Buttercream Frosting: Unsalted butter forms the base of this silky frosting make sure it's properly softened
- Powdered sugar: creates sweetness and structure sifting prevents lumps
- Milk: thins the frosting to the perfect consistency
- Vanilla extract: adds flavor and depth
- Food coloring gels: provide vibrant colors without thinning the frosting
- For Silly Decorations: Assorted sprinkles in various shapes and sizes for texture and color
- Mini marshmallows: create soft pillowy accents
- Candy eyes: transform your cake into a character
- Gummy candies: add chewy texture and bright colors
- Chocolate chips: for spots of rich flavor
- Wafer sticks: create height and architectural elements
- Cotton candy: adds a whimsical cloud like effect
Instructions
- Prepare Your Workspace:
- Gather all ingredients measured and at room temperature before starting. This ensures smooth mixing and consistent results. Line your cake pans with parchment circles for easy removal and have cooling racks ready nearby.
- Create the Cake Batter:
- Begin by thoroughly whisking your dry ingredients in a separate bowl. This crucial step ensures even distribution of leavening agents and prevents flour pockets in your final cake. Take your time creaming the butter and sugar until genuinely light and fluffy—this typically requires a full 3 minutes of beating and creates the foundation for a tender crumb.
- Perfect Your Egg Incorporation:
- Add each egg individually, beating for about 30 seconds between additions. This methodical approach prevents the batter from curdling and ensures proper emulsification. The mixture should look smooth and silky before moving to the next step.
- Master the Flour Milk Addition:
- Add your dry ingredients and milk in alternating batches, starting and ending with flour. This technique prevents overmixing while ensuring all ingredients are properly incorporated. Use gentle folding motions with your mixer on low speed just until the streaks disappear.
- Bake With Precision:
- Divide your batter evenly between pans using a kitchen scale if available for perfect layers. Tap filled pans gently on the counter to release air bubbles before baking. Position pans in the center of your oven and resist opening the door during the first 25 minutes to prevent temperature fluctuations.
- Create Colorful Frosting:
- Beat your butter until extremely light before adding any sugar—this takes about 3 minutes on medium high speed. Add powdered sugar in small batches to prevent a sugar cloud explosion. Divide your finished frosting into separate bowls before adding gel colors, starting with a small amount and building intensity gradually.
- Assemble With Care:
- Ensure cake layers are completely cool before frosting to prevent melting. Apply a thin crumb coat first, then chill for 15 minutes before adding the final frosting layer. This creates a smooth base for your decorations and seals in crumbs.
- Unleash Creative Chaos:
- Start with larger decorative elements like frosting swirls or dollops as focal points. Add candies and sprinkles in an intentionally random pattern, stepping back occasionally to assess the overall effect. Build height and dimension by layering different elements for visual interest.
 Save
Save This cake reminds me of my grandmother's philosophy that dessert should bring joy beyond just taste. She always said the most memorable cakes were the ones that made people laugh before they even took a bite. The lemon zest is my secret addition—it cuts through the sweetness perfectly and adds a dimension that guests always notice but can rarely identify.
Make-Ahead Options
The unfrosted cake layers can be baked up to two days in advance. Once completely cooled, wrap them tightly in plastic wrap and store at room temperature. You can also freeze the wrapped layers for up to a month—just thaw overnight in the refrigerator before decorating. The buttercream can be prepared a day ahead and stored in an airtight container in the refrigerator. Bring it to room temperature and re-whip before using for the best consistency.
Decoration Variations
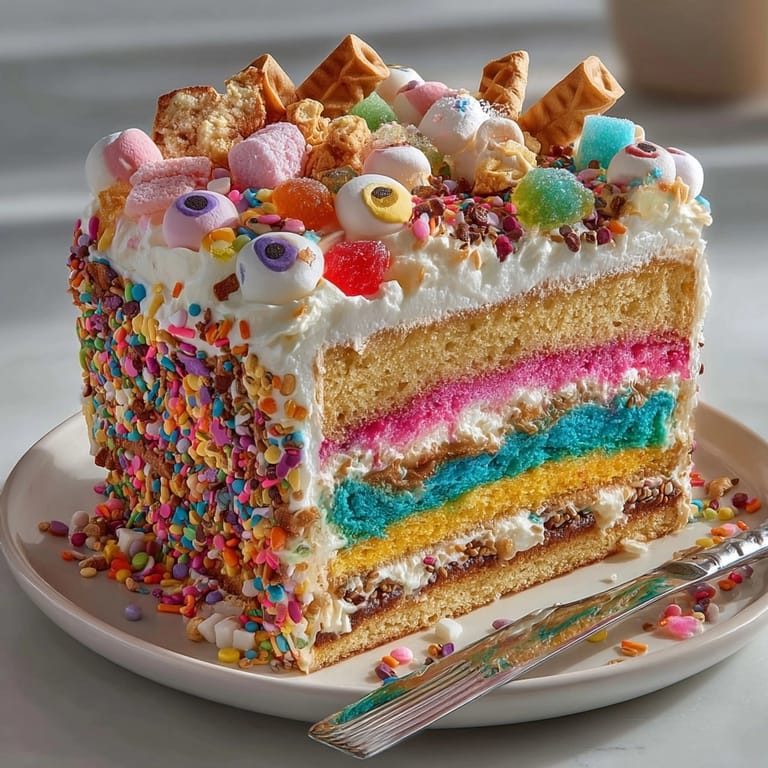
While chaos is the theme, you can still create coordinated chaos by choosing a color scheme. Try rainbow progressions, monochromatic variations, or themed color combinations for holidays. For texture contrast, consider adding elements like crushed cookies, cereal pieces, or edible glitter. Create height variation by using different lengths of candy sticks or building small candy structures. The more varied the textures and heights, the more visually interesting your cake becomes.
Serving Suggestions
This cake pairs wonderfully with vanilla ice cream to balance the sweetness. For a complete dessert table, surround it with matching colored macarons or cookies that echo the cake's decorative elements. Serve slices on colorful plates with sparklers for birthday celebrations or special occasions. Consider cutting this cake at the table as a performance—the reveal of the interior layers adds to the excitement.
Adapting For Different Ages
For young children, focus on bright colors and recognizable candy characters. Teenagers might appreciate more sophisticated chaos with edgy color combinations or themed decorations related to their interests. For adults, consider incorporating elements like edible flowers, gold leaf, or artistic chocolate pieces for an elevated chaotic aesthetic. The base recipe stays the same, but the decorative approach can be tailored to delight any age group.
 Save
Save Remember that with this Chaos Cake, perfection isn't the goal—it's meant to be playful and surprising. The joy comes from the creative process and the delight on everyone's faces when they see your magnificent, gloriously chaotic creation!
Recipe FAQ
- → How do I achieve vibrant frosting colors?
Use gel-based food coloring, which provides intense hues without thinning the buttercream. Mix small amounts at a time, adding more if necessary.
- → Can I make the cake layers ahead of time?
Yes, you can bake the layers in advance. Once fully cool, wrap them tightly in plastic wrap and store at room temperature up to 2 days or freeze for longer storage.
- → How do I keep the decorations from melting?
Add most candies and marshmallows right before serving, especially if your environment is warm, to keep them looking fresh and fun.
- → Are there gluten-free options?
Substitute a gluten-free flour blend for the all-purpose flour to create a gluten-free version. Double-check that decorations are gluten-free as well.
- → What’s the best way to apply the decorative toppings?
Once the cake is frosted, press toppings gently into the frosting so they stick well. Use piping bags for detailed frosting designs.
- → Can I use different cake flavors?
Absolutely! Try flavoring the cake with citrus zest, almond extract, or adding cocoa powder for a chocolate base.