 Save
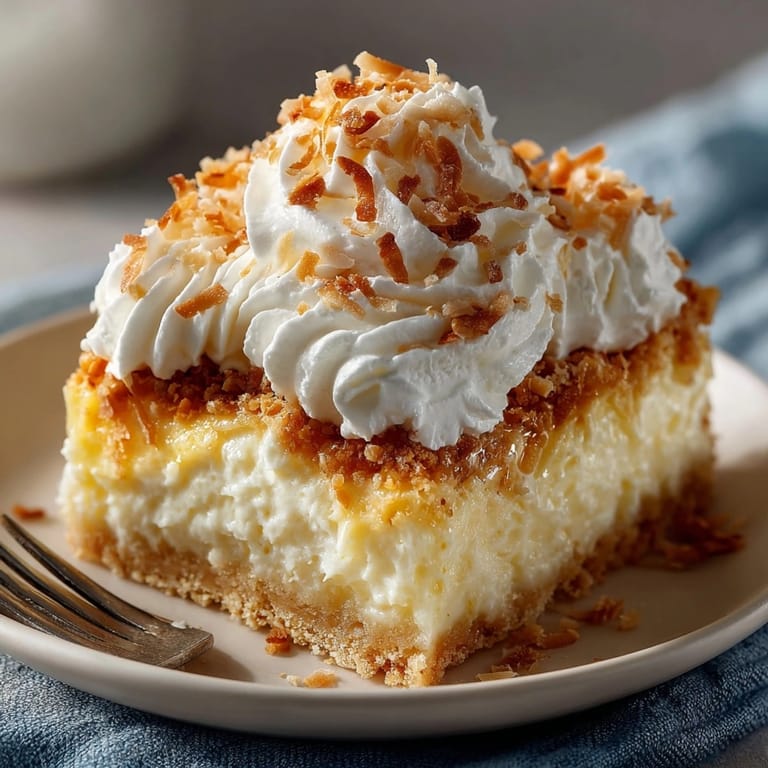
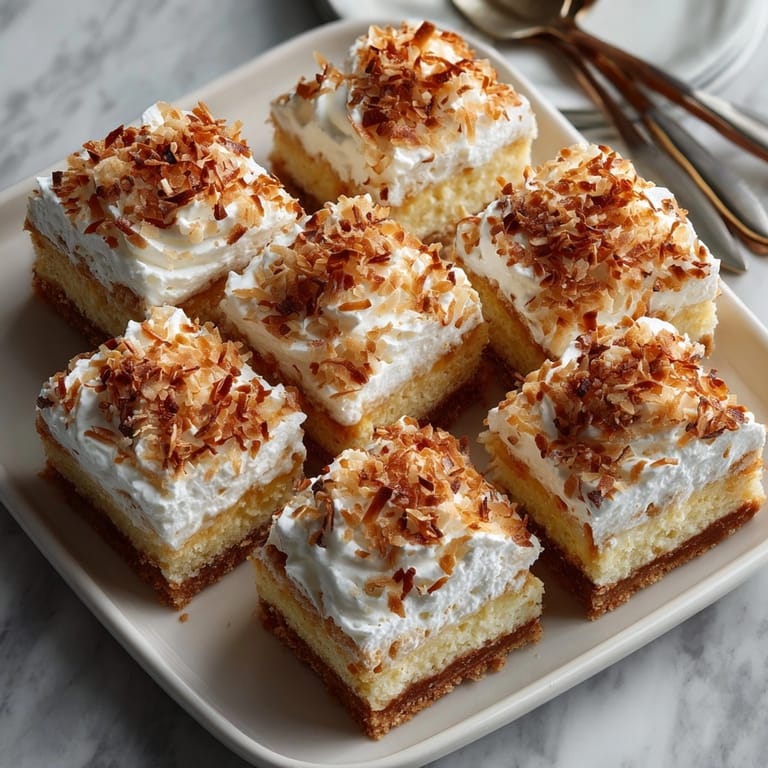
Save This luscious coconut cream pie transformed into convenient, portable bars brings all the classic flavors you love without needing forks or plates. The buttery shortbread base provides the perfect foundation for the silky coconut custard and billowy whipped cream topping, creating a dessert that disappears quickly at any gathering.
I first made these bars for my sister's baby shower when I needed something elegant yet easy to serve to a crowd. The guests were fighting over the last pieces, and now they've become my most requested dessert for family gatherings.
Ingredients
- Unsalted butter: provides the rich foundation for both the crust and filling. Look for European style butter with higher fat content for the most luxurious results
- Granulated sugar: balances the coconut flavor without overwhelming it. Use pure cane sugar for best results
- All purpose flour: creates the perfect tender yet sturdy shortbread base. Measure by weight if possible for accuracy
- Cornstarch: is crucial for thickening the custard to the perfect sliceable consistency. Always mix with sugar before adding liquids to prevent lumps
- Whole milk and coconut milk: work together to create the perfect creamy texture with authentic coconut flavor. Use full fat versions of both for the richest results
- Egg yolks: enrich the custard and create that signature golden color. Room temperature eggs incorporate more easily
- Vanilla extract: enhances the coconut flavor. Use pure extract rather than imitation for the best taste
- Sweetened shredded coconut: provides texture and flavor throughout the filling. Toast some for garnish to add depth and visual appeal
- Heavy whipping cream: creates a billowy cloud like topping. Make sure it's very cold for the best whipping results
Tired of Takeout? 🥡
Get 10 meals you can make faster than delivery arrives. Seriously.
One email. No spam. Unsubscribe anytime.
Instructions
- Prepare the pan:
- Line your baking pan with parchment paper extending over the sides to create handles that will make removing the finished bars effortless. This step is absolutely crucial for clean slicing later.
- Create the shortbread base:
- Cream together butter and sugar until light and fluffy, about 3 minutes with an electric mixer. This incorporates air for a tender crust. Add flour and salt, mixing just until combined to avoid developing gluten which would make the crust tough. Press evenly into the prepared pan, using the bottom of a measuring cup to create a smooth surface.
- Bake the crust:
- Bake at 350°F for exactly 18 to 20 minutes until the edges just begin to turn golden. The center may still look slightly underdone but will continue cooking as it cools. This partial baking ensures the crust won't become soggy when the filling is added.
- Prepare the coconut filling:
- Whisk sugar, cornstarch, and salt thoroughly in a medium saucepan before adding any liquid. This prevents cornstarch lumps from forming. Gradually add both milks while whisking constantly to create a smooth mixture. Cook over medium heat, whisking continuously to prevent scorching. The mixture will suddenly thicken around the 5 minute mark. Continue cooking for 1 to 2 minutes more to fully activate the cornstarch.
- Temper the egg yolks:
- This critical step prevents scrambled eggs in your custard. Slowly pour about half a cup of the hot milk mixture into the beaten egg yolks while whisking vigorously. This gradually raises the temperature of the eggs before adding them back to the hot mixture.
- Finish the custard:
- Return the tempered egg mixture to the saucepan, whisking constantly. Cook for exactly 2 more minutes to ensure the eggs are fully cooked and safe to eat. Remove from heat and immediately stir in butter, vanilla, and coconut. The residual heat will melt the butter and bloom the vanilla flavor.
- Assemble and chill:
- Pour the warm filling over the cooled crust, using an offset spatula to create a perfectly smooth surface. Allow to cool at room temperature for 30 minutes before refrigerating for at least 1 hour. This gradual cooling prevents condensation from forming on the surface.
- Create the topping:
- Whip very cold cream with powdered sugar and vanilla until stiff peaks form. Spread evenly over the chilled custard layer. Sprinkle with toasted coconut just before serving for maximum crunch and visual appeal.
 Save
Save Making your own coconut cream pie bars connects you to a long tradition of American desserts. My grandmother always said the secret to her coconut cream pie was patience during the custard cooking process. She taught me to watch for the moment when the whisk leaves a clear trail through the mixture that holds its shape for a few seconds. That visual cue ensures perfect thickness every time.
Make Ahead and Storage
These bars actually improve with an overnight rest in the refrigerator, making them perfect for advance preparation. The flavors meld together and the custard sets to the perfect consistency. Store covered in the refrigerator for up to 3 days, though the crust will gradually soften over time. For longer storage, you can freeze the bars without the whipped cream topping for up to 1 month. Wrap individual portions tightly in plastic wrap and place in an airtight container. Thaw overnight in the refrigerator and add fresh whipped cream before serving.
Troubleshooting Tips
If your custard seems lumpy at any point, pass it through a fine mesh strainer before adding the coconut. This will remove any cooked egg pieces and create a perfectly smooth filling. If your whipped cream becomes too soft in warm weather, stabilize it by dissolving 1 teaspoon of unflavored gelatin in 1 tablespoon of cold water, then heating until dissolved and cooling slightly before adding to the cream during whipping. For a clean cut, dip your knife in hot water and wipe dry between each slice. This prevents the filling from sticking to the knife and creates restaurant quality presentation.
Flavor Variations
Chocolate Coconut Bars Sprinkle 1/2 cup mini chocolate chips over the shortbread base before adding the coconut filling. The heat of the filling will slightly melt the chocolate, creating a delicious surprise layer. Lime Coconut Bars Add 1 tablespoon of lime zest and 2 tablespoons of lime juice to the coconut filling for a tropical twist. Garnish with additional lime zest on top of the whipped cream. Almond Joy Inspired Use almond extract instead of vanilla in the filling and sprinkle toasted sliced almonds along with the coconut on top for a candy bar inspired treat.
Serving Suggestions
For an elegant presentation, cut these bars into small squares and serve on a tiered dessert stand at brunch or afternoon tea. The contrast of the creamy filling against the crisp crust makes them visually appealing. Create a dessert bar featuring these coconut cream pie bars alongside chocolate and fruit based options. The creamy coconut flavor provides a perfect contrast to richer chocolate desserts. For summer gatherings, serve slightly frozen alongside fresh berries for a refreshing treat that holds up well in warm weather.
 Save
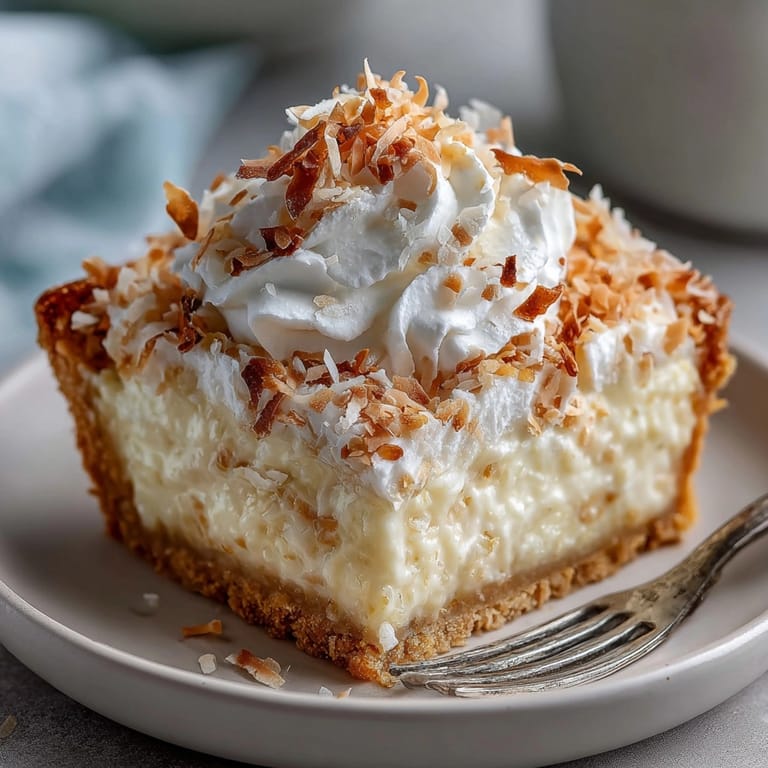
Save I've been making these coconut cream pie bars for over a decade now, and they never fail to impress. The combination of buttery shortbread, creamy coconut filling, and cloud-like whipped cream creates a dessert that's both nostalgic and elegant. Whether you're serving them at a fancy gathering or enjoying them as a weeknight treat, these bars bring a touch of tropical indulgence to any occasion.
Recipe FAQ
- → Can I use sweetened coconut milk instead of unsweetened?
Using sweetened coconut milk will make the bars noticeably sweeter. Unsweetened is recommended for balanced flavor, but if you use sweetened, reduce the added sugar in the filling as needed.
- → How do I prevent the custard layer from becoming runny?
Ensure the filling thickens fully on the stovetop and chill the bars until the custard is completely set before cutting. Using cornstarch and properly tempering the eggs also helps achieve a firm consistency.
- → Is it necessary to toast the coconut for topping?
Toasting the coconut adds a deeper flavor and crunchy texture, enhancing the bars' overall taste and appearance. While optional, it's highly recommended for best results.
- → Can these bars be made gluten-free?
Yes, substitute the all-purpose flour in the shortbread crust with a gluten-free flour blend to accommodate gluten-free diets.
- → How long do these bars keep in the refrigerator?
Stored covered, the bars stay fresh for up to 3 days. For optimal texture, enjoy within 24–48 hours of preparation.
- → Can I make the bars in advance for an event?
Absolutely! Prepare and chill them the day before, then add the whipped cream topping and toasted coconut just before serving for best presentation.