 Save
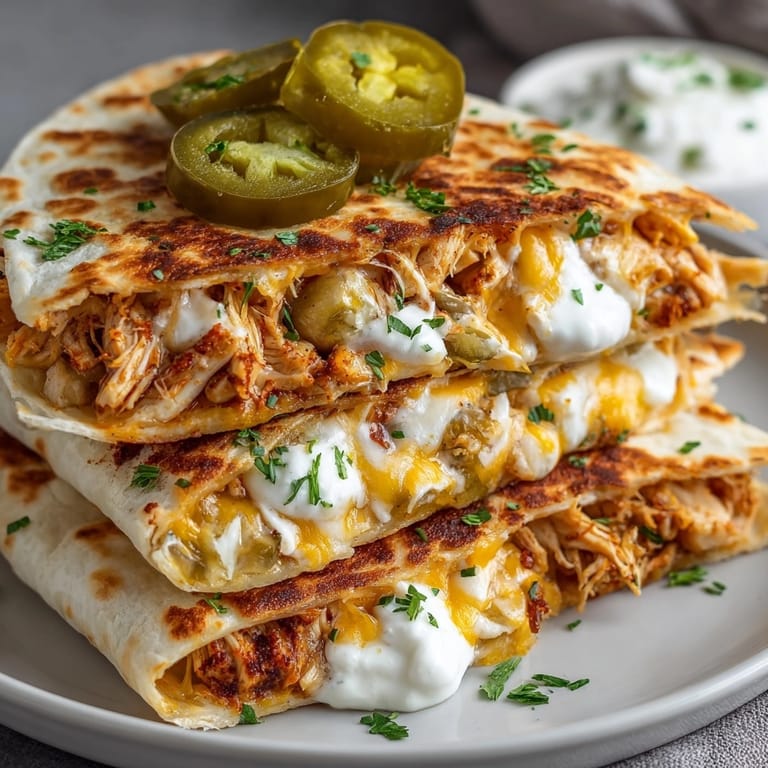
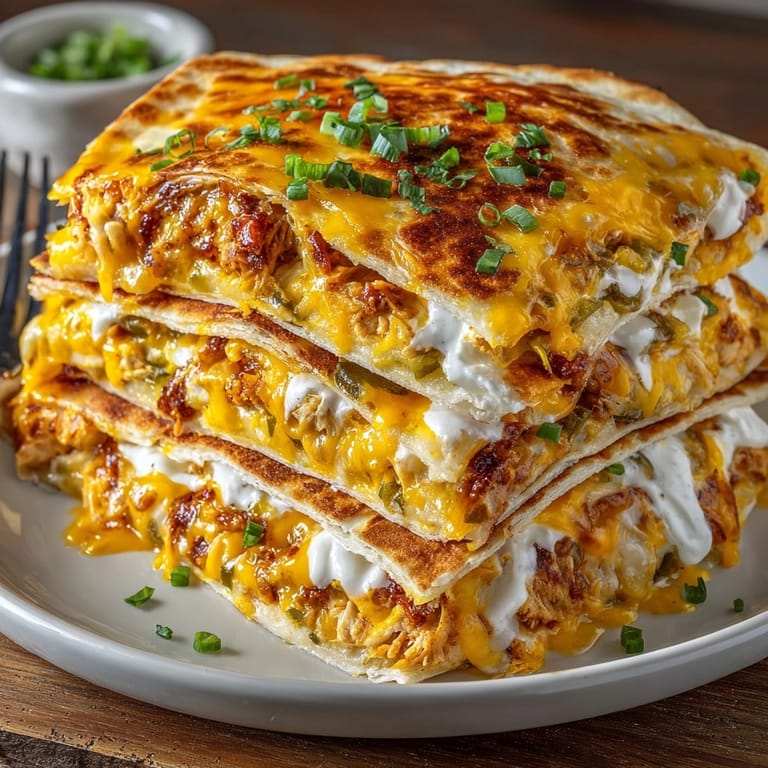
Save This pickle ranch chicken quesadilla bake transforms ordinary quesadilla night into a crowd-pleasing casserole that combines the tangy zip of pickles with creamy ranch and gooey melted cheese. I stumbled upon this recipe when looking for a creative way to use leftover rotisserie chicken, and it quickly became a regular request in my household.
I first made this during a busy weeknight when I needed something different than our usual tacos. My pickle loving son declared it his new favorite dinner, and now we make it at least twice a month with whatever leftover chicken we have available.
Ingredients
- Shredded cooked chicken: provides the protein foundation and absorbs all the flavors look for rotisserie chicken for the most tender results
- Dill pickles: deliver that signature tangy crunch choose refrigerated pickles for better flavor than shelf stable varieties
- Pickle juice: adds acidity and brightness without needing additional vinegar
- Ranch dressing: creates the creamy base select a high quality brand for the best flavor profile
- Smoked paprika: brings subtle smokiness that elevates the entire dish
- Flour tortillas: form the layers and provide structure look for burrito size for proper coverage
- Cheddar cheese: adds sharp flavor while mozzarella provides the perfect melt factor
- Sour cream: contributes richness and tanginess freshness matters here so check expiration dates
- Green onions: offer a mild onion flavor without overwhelming the dish
Tired of Takeout? 🥡
Get 10 meals you can make faster than delivery arrives. Seriously.
One email. No spam. Unsubscribe anytime.
Instructions
- Prepare the Oven and Pan:
- Preheat your oven to 375°F and take the time to thoroughly grease your baking dish. A light coating of cooking spray or butter prevents sticking and makes serving much easier. The 9x13 dish size is crucial for proper layering and even cooking throughout.
- Season the Chicken:
- Combine your shredded chicken with all the spices in a large bowl, ensuring each piece gets evenly coated. The smoked paprika is particularly important as it adds depth to the chicken without overwhelming the dish. Toss thoroughly until every shred has a light coating of seasoning.
- Create the Sauce Mixture:
- Add the diced pickles, pickle juice, ranch dressing, sour cream, and sliced green onions to the seasoned chicken. Mix gently but thoroughly, making sure the ingredients are evenly distributed. The pickle juice will seem like a lot, but it gets absorbed into the chicken and creates that signature tangy flavor.
- Prepare the Cheese Blend:
- Combine both cheeses in a separate bowl. This step ensures even distribution of the different cheeses throughout the layers. The cheddar provides flavor while the mozzarella delivers that Instagram worthy cheese pull when serving.
- Build the Base Layer:
- Arrange two tortillas to cover the bottom of your baking dish, overlapping them slightly. This foundation layer needs to cover as much of the bottom as possible to properly support the ingredients above.
- Layer the Ingredients:
- Spread one third of your chicken mixture evenly over the tortillas, then sprinkle with one third of your cheese blend. Press down gently to compact the layer, which helps the casserole hold together when serving.
- Complete the Layers:
- Repeat the layering process two more times, finishing with a final layer of tortillas topped with the remaining cheese. The top cheese layer is crucial for creating that beautiful golden crust.
- Bake Covered, Then Uncovered:
- Cover the dish with foil and bake for 20 minutes, which allows everything to heat through without burning. Then remove the foil and bake for 10 more minutes until the cheese turns gloriously bubbly and golden. This two stage baking process ensures proper cooking without drying out the dish.
- Rest Before Serving:
- Allow the quesadilla bake to rest for 5 minutes before cutting. This resting period lets the layers set and makes for cleaner slices when serving.
 Save
Save My family particularly loves this dish on game days when we need something substantial but easy to serve. The pickles might seem unusual at first, but they provide that perfect tangy contrast to the rich cheese and creamy ranch. My daughter who normally picks out pickles from her burgers actually requests extra in this dish.
Make Ahead Magic
This quesadilla bake shines as a make ahead meal. You can assemble the entire dish up to 24 hours before baking and keep it refrigerated. Just add about 10 minutes to the covered baking time if cooking directly from the refrigerator. The flavors actually develop and improve as the ingredients meld together in the refrigerator, making this perfect for busy weeknights or when entertaining guests.
Smart Substitutions
While traditional dill pickles work beautifully in this recipe, feel free to experiment with different pickle varieties. Bread and butter pickles add a touch of sweetness, while spicy pickles kick up the heat level. For those watching carbs, low carb tortillas work perfectly in this recipe without sacrificing texture. Dairy free? Plant based cheese alternatives and dairy free ranch dressing can transform this into an allergy friendly option that still delivers on flavor.
Serving Suggestions
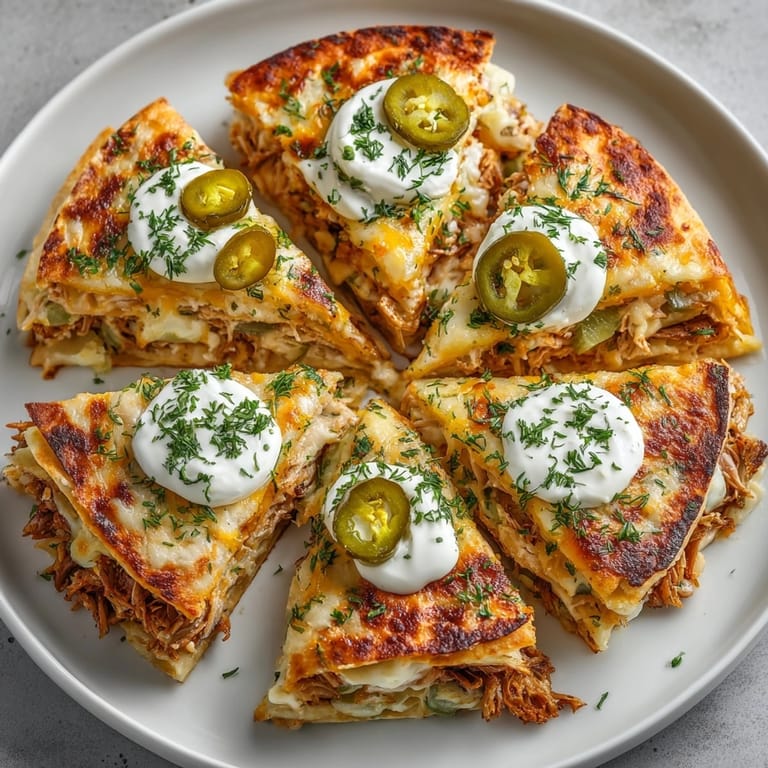
This hearty casserole pairs wonderfully with a crisp green salad dressed simply with vinaigrette to balance the richness. For a complete meal, serve with roasted vegetables like broccoli or Brussels sprouts, which stand up nicely to the bold flavors. During summer months, fresh sliced tomatoes with a sprinkle of salt make a perfect light accompaniment. For entertaining, cut into smaller squares and serve as an appetizer alongside a dollop of extra ranch dressing for dipping.
Storage Solutions
Refrigerator Storage: Store leftovers in an airtight container in the refrigerator for up to 4 days. The flavors continue to develop, making day two sometimes even better than day one. Freezer Friendly: This quesadilla bake freezes beautifully for up to 3 months. Cut into individual portions before freezing for easy grab and go meals. Reheating Tips: For best results, reheat in a 350°F oven for 15 minutes until heated through. Microwaving works in a pinch, but you lose some of the tortilla crispness.
Kid Friendly Adaptations
Little ones sometimes shy away from visible pickle pieces. For pickle hesitant children, try chopping the pickles extra fine so they incorporate more seamlessly into the sauce. Create a build your own version where kids can help layer their own personal quesadilla sections with their preferred amount of pickle and ranch. Serve with kid friendly dipping options like mild salsa, extra ranch, or even ketchup for those who need that familiar comfort.
 Save
Save This recipe offers a delightful balance of tangy, creamy, and savory flavors, making it a unique and satisfying meal for any occasion. Enjoy the delicious twist on a classic favorite!
Recipe FAQ
- → Can I use leftover chicken for this dish?
Absolutely! Rotisserie or any leftover cooked chicken works well, ensuring moisture and quick prep.
- → Are there substitutions for ranch dressing?
Try Greek yogurt mixed with herbs and garlic for a tangy, creamy base with fewer calories.
- → What cheese blends work best?
Cheddar and mozzarella melt beautifully, but blends with Monterey Jack or pepper jack add flavor and spice.
- → How do I add extra heat?
Mix in sliced jalapeños, hot sauce, or use spicy pickles to give your bake additional zing.
- → What sides pair well?
Crisp salads, slaws, or pickled vegetables balance rich, creamy flavors. Light beers or Riesling complement nicely.