 Save
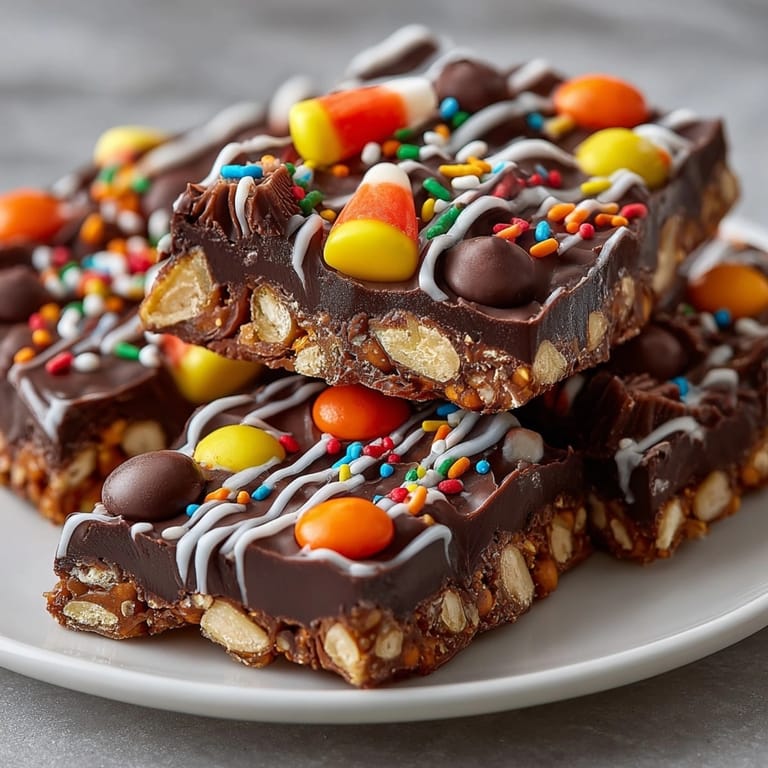
Save This festive Halloween candy bark is my favorite no-stress party treat an irresistible medley of chocolate and colorful candies that comes together with almost no effort but steals the show on any dessert table. Whether you are making it with kids or just raiding your candy stash after trick or treat it is a delicious way to celebrate with a little bit of spooky fun.
The first time I whipped up a batch my kids’ eyes widened at all the colors and textures they begged to help add every topping This bark is now a tradition each October and not a crumb is ever left behind
Ingredients
- Semisweet or bittersweet chocolate: chopped or use chocolate chips this gives a rich base and holds the candies together Look for quality chocolate with cocoa butter for best snap and shine
- White chocolate (optional for drizzle): adds a sweet striking finish Choose smooth-melting baking white chocolate or premium chips
- Mini pretzels: roughly broken for crunch and contrast Go for fresh not stale for the squeaky crunch
- Candy corn: for that classic Halloween look Soft and chewy
- Mini peanut butter cups halved: for a creamy nutty bite Use miniatures and choose familiar brands for top flavor
- Halloween colored candy coated chocolates: such as MMs for bright pops of color Pick ones in orange purple and green if you can for extra festive bite
- Gummy worms snipped into pieces: for chewy spooky texture
- Halloween themed sprinkles: to add sparkle and extra color Jimmies or nonpareils work equally well
Tired of Takeout? 🥡
Get 10 meals you can make faster than delivery arrives. Seriously.
One email. No spam. Unsubscribe anytime.
Instructions
- Prepare the Baking Sheet:
- Line a large baking sheet with parchment paper Make sure there are no wrinkles so the chocolate peels off smoothly later
- Melt the Chocolate:
- Place the semisweet or bittersweet chocolate in a heatproof bowl and set it over barely simmering water Stir gently often until melted and glossy Alternatively microwave in thirty second intervals stirring frequently to avoid burning
- Spread the Chocolate Base:
- Pour the melted chocolate onto the lined baking sheet Use an offset spatula or back of a spoon to spread it into an even rectangle about a quarter inch thick Work fairly quickly so it does not begin to set
- Add the Candy Toppings:
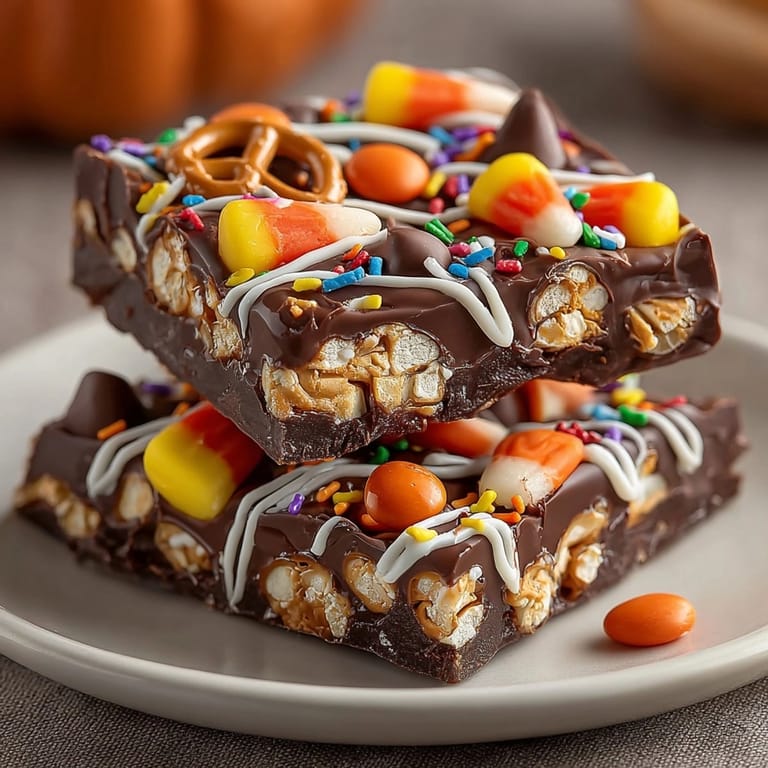
- While the chocolate is still warm and loose scatter on the mini pretzels candy corn halved peanut butter cups candy coated chocolates and gummy worm pieces Distribute evenly so each piece of bark gets a bit of everything
- Drizzle the White Chocolate:
- If using melt the white chocolate until smooth Using a spoon or piping bag drizzle it randomly over the toppings This not only looks festive but helps some candies adhere better
- Finish with Sprinkles:
- Shake a generous layer of Halloween themed sprinkles all over the top This adds color texture and a little bit of crunch
- Chill to Set:
- Pop the entire tray into the refrigerator for at least thirty minutes or until the chocolate is fully set and firm The chilling step is important so the bark breaks cleanly later
- Break and Store:
- Once set lift the chocolate off the parchment and break into uneven pieces Store in an airtight container at a cool room temperature for up to one week
 Save
Save My favorite part has always been the mini peanut butter cups they get just a bit melty around the edges and blend perfectly with the chocolate My youngest once tried to press every candy on one piece so every year we call that the masterpiece slice
Storage Tips
Store the bark in a well sealed container at a cool room temperature for up to seven days If your home is warm or if the candies get sticky you can also refrigerate it but allow it to come to room temperature before serving so the chocolate is not too hard
Ingredient Substitutions
Swap in dark chocolate or milk chocolate for the base layer depending on your crowd’s preference Not a fan of candy corn use more MMs or chopped candy bars Love salty sweet try potato sticks or pretzel rods broken into pieces For a nut free version skip peanut butter cups and doublecheck all labels Candy bark is wonderfully forgiving
Serving Suggestions
Pile bark pieces high on a Halloween dessert tray or pack them in clear bags for favors at class parties To impress guests arrange pieces upright in a mason jar with curling ribbon and set out with other Halloween treats My tip for adults a sprinkle of flaky salt before chilling makes each bite grown up and sophisticated
Cultural and Historical Context
Chocolate bark is an American staple around holidays and festive seasons It works so well for Halloween because you can use a candy combination that never feels the same twice Originally bark was a way to showcase chocolate tempered to perfection now it is known for unlimited creativity and fun colors
Seasonal Adaptations
Customize bark with seasonal candies for other holidays Red and green chocolates for winter pastels for spring even gold coins and clovers for St Pattys Day Chocolate bark is the dessert that follows you through the whole year
 Save
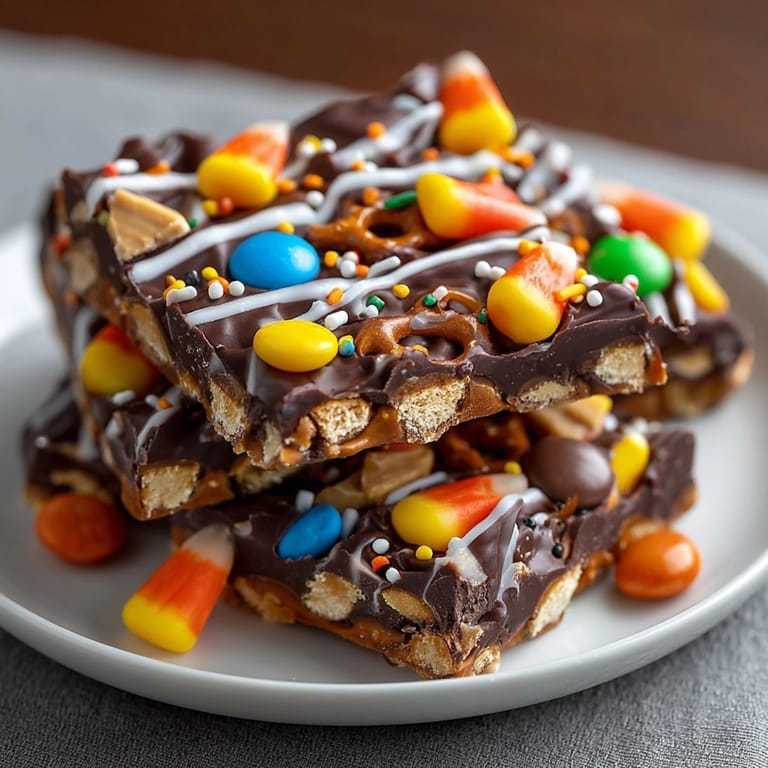
Save Break the bark into fun uneven pieces and enjoy with friends for a crowd pleasing Halloween treat. Save a few for your own secret stash they taste even better the day after.
Recipe FAQ
- → Can I use dark or milk chocolate instead of semisweet?
Yes, both dark and milk chocolate work well. Choose your preferred chocolate for the base.
- → How do I prevent the chocolate from burning when melting?
Melt chocolate slowly using a double boiler or microwave in short intervals, stirring often for smooth results.
- → Is it possible to make a nut-free version?
Absolutely. Skip peanut butter cups and check candy labels for possible traces of nuts.
- → How far in advance can the bark be prepared?
You can make this treat up to a week ahead and store in an airtight container at cool room temperature.
- → Can I customize the toppings with other candies?
Feel free to use your favorite candies or seasonal sweets—just ensure they're suitable for slicing or scattering.
- → How do I get clean pieces when breaking the bark?
Chill until set, then break gently by hand or use a knife for more uniform pieces.