 Save
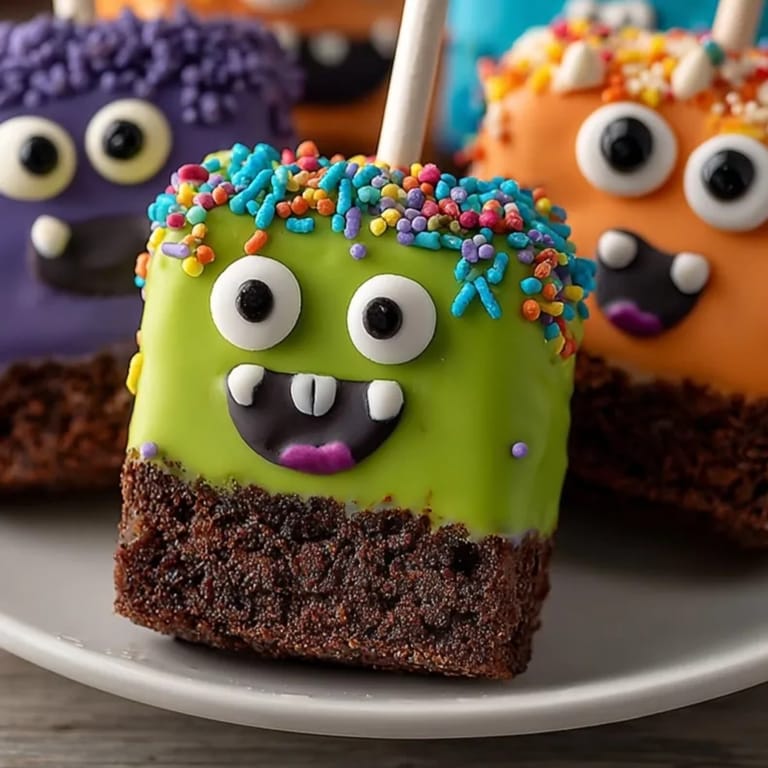
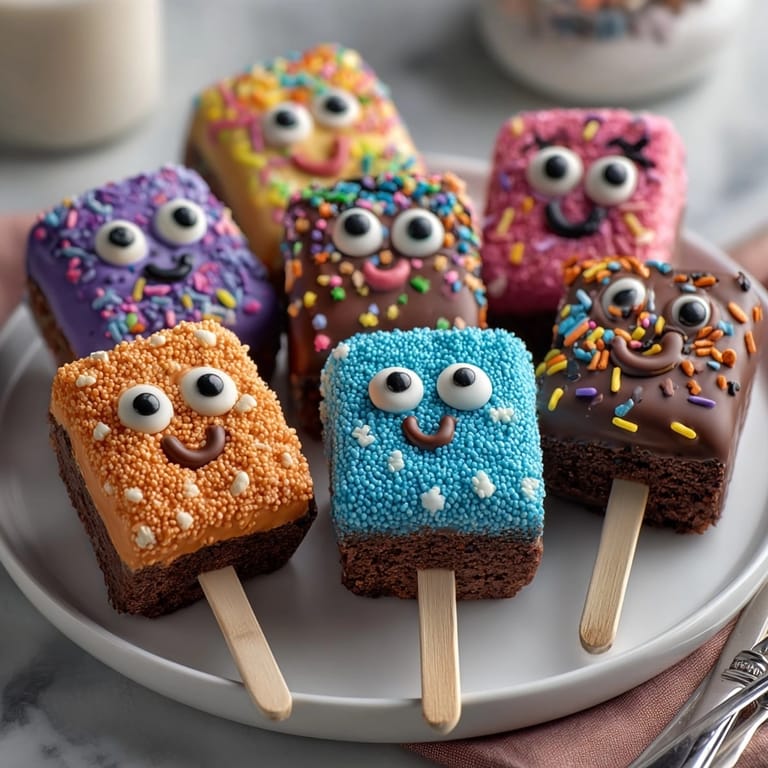
Save Monster Brownie Pops are my secret weapon for birthdays and Halloween bashes. Their bold colors and playful faces always spark smiles and laughter at any party table. Each pop is packed with classic fudgy brownie flavor, then dipped and decorated so every guest can build their own little monster.
The first time I made these was for my nephew's fifth birthday. The kids spent more time choosing eyes and sprinkles than eating the pops and loved every minute.
Ingredients
- Unsalted butter: gives richness and fudgy texture select a good quality European-style butter for extra depth
- Granulated sugar: helps the brownies stay moist and the crisp coating sweetens decorations
- Large eggs: add structure and richness use fresh eggs for best results
- Vanilla extract: delivers warmth and depth opt for real vanilla for the best flavor
- Unsweetened cocoa powder: creates a classic brownie chocolate base look for a good Dutch process cocoa for deeper taste
- All-purpose flour: ensures just the right crumb sift if possible to avoid lumps
- Salt: balances the sweetness and wakes up flavors use fine sea salt for even seasoning
- Baking powder: gives a gentle lift to make pops soft and chewy check freshness for reliable results
- Assorted candy melts: form the monster shell pick bold colors and high quality brands for smooth melting
- Candy eyes: are the finishing touch you can buy or make them from sugar and chocolate for creative faces
- Sprinkles, mini chocolate chips, and colored sugar: add endless possibilities go for a mix of textures and sizes for monster character
- Lollipop sticks: make pops easy and fun for kids buy sturdy food grade sticks that hold up to dipping
Tired of Takeout? 🥡
Get 10 meals you can make faster than delivery arrives. Seriously.
One email. No spam. Unsubscribe anytime.
Instructions
- Preheat and Prepare:
- Begin by preheating your oven to the correct temperature. Line your square baking pan with a neat sheet of parchment paper pressed into corners to keep brownies from sticking. This helps guarantee clean pop shapes later.
- Mix the Brownie Batter:
- Melt the butter completely in a microwave-safe bowl for even mixing. Stir in sugar eggs and vanilla until smooth and glossy with no visible streaks. This ensures your brownies have a soft tender crumb.
- Combine Dry Ingredients:
- Sift the cocoa powder flour salt and baking powder directly over your wet mixture. Mixing just until combined keeps brownies dense and fudgy. Over-mixing can make them dry.
- Bake Perfectly:
- Spread your batter in the pan using a spatula to level it evenly. Bake for the time indicated watching for the edges to set and the center to spring back when gently pressed. Use a toothpick to check for moist crumbs not wet batter. Overbaking leads to dry pops.
- Cool and Cut:
- Allow the brownies to cool fully in the pan before removing. Use a large sharp knife for clean edges and measure the squares to keep pops even. Each pop should be about the same size for consistent coating.
- Stick It:
- Insert a sturdy lollipop stick into each square with gentle pressure twisting slightly if needed. If brownies seem too soft chill for twenty minutes in the fridge. This keeps them stable for dipping.
- Melt Candy Coating:
- Melt the candy melts according to package directions. Use shallow wide bowls for easy dipping. Stir until smooth and glossy and work in small batches to keep the coating from hardening.
- Dip and Decorate:
- Dip each pop fully in candy coating spinning gently for complete coverage. Tap off excess so the shell stays thin and sets quickly. Before the candy hardens press on eyes sprinkles and decorations to build unique monster faces.
- Set and Serve:
- Arrange each decorated pop on parchment paper spaced apart so drips dry cleanly. Allow to set fully at cool room temperature or in the fridge if needed. Only serve when the coating is crisp and decorations are secure.
 Save
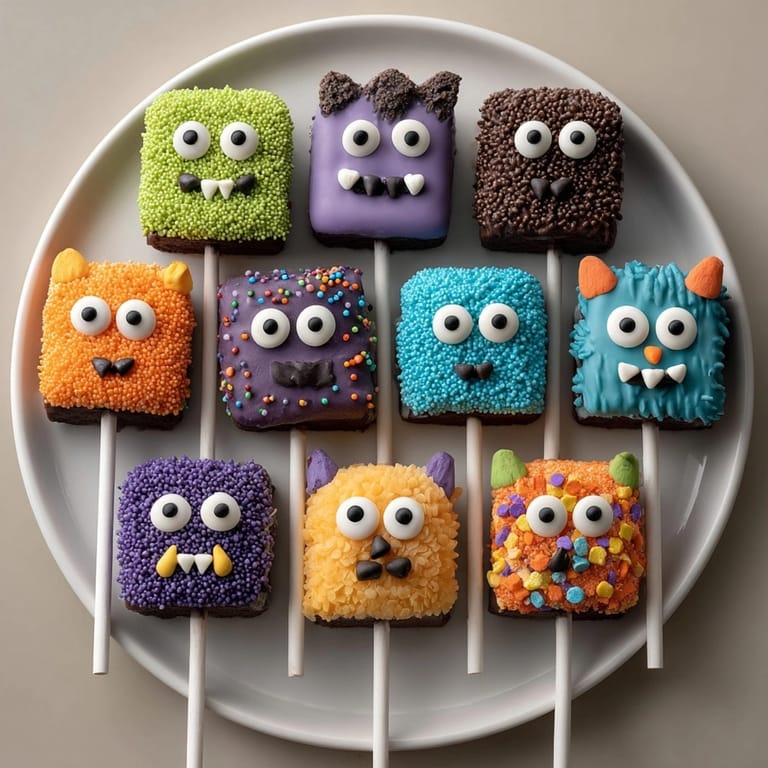
Save Cocoa powder is my favorite ingredient here. It makes the brownies deeply chocolatey and helps decorations pop. Last Halloween my youngest niece gave every monster three eyes and told everyone they were extras for seeing candy in the dark.
Storage Tips
Keep finished pops in an airtight container at cool room temperature up to four days. For longer storage arrange pops in a single layer and freeze in a sealed container with parchment between layers. Store undecorated brownie squares if making ahead and dip the day of your event for the freshest look and taste.
Ingredient Substitutions
Use gluten-free flour if needed without adjusting other quantities. Dairy free butter options work well for those with allergies just watch for ones that melt smoothly. Instead of candy melts try tempered chocolate for a classic look or brightly colored royal icing for lighter pops.
Serving Suggestions
Arrange pops upright in a decorated foam block for easy grab and go serving. Wrap each pop in a food safe cellophane bag if giving as gifts or party favors. Pair with fruit punch or hot cocoa for a cozy party table in cooler months.
 Save
Save Brownie pops bring out creativity and giggles with each bite. Decorate in batches for your next party and let everyone build their own monster treats.
Recipe FAQ
- → What type of butter is best for these pops?
Unsalted butter is recommended to control the sweetness and ensure a rich brownie base for your pops.
- → Can I use different colored candy melts?
Absolutely! Mix and match candy melt colors to create unique monster designs tailored to your festive theme.
- → How can I make these treats gluten-free?
Substitute all-purpose flour with a gluten-free flour blend for pops everyone can enjoy.
- → What is the best way to keep pops from falling apart?
Chilling brownie squares before dipping helps them firm up, making them easier to handle on sticks.
- → Are there alternative decorations I can use?
Try mini chocolate chips, colored sugar, or homemade candy eyes for creative, personalized monster faces.