 Save
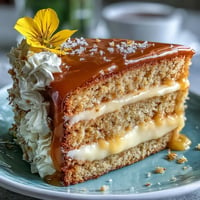
Save These peanut butter chocolate swirl scones are the answer when you crave a bakery treat at home. Each bite balances buttery richness with creamy peanut butter, pops of chocolate, and a delicate tender crumb. I make these whenever weekend brunch needs a little upgrade and everyone always reaches for seconds.
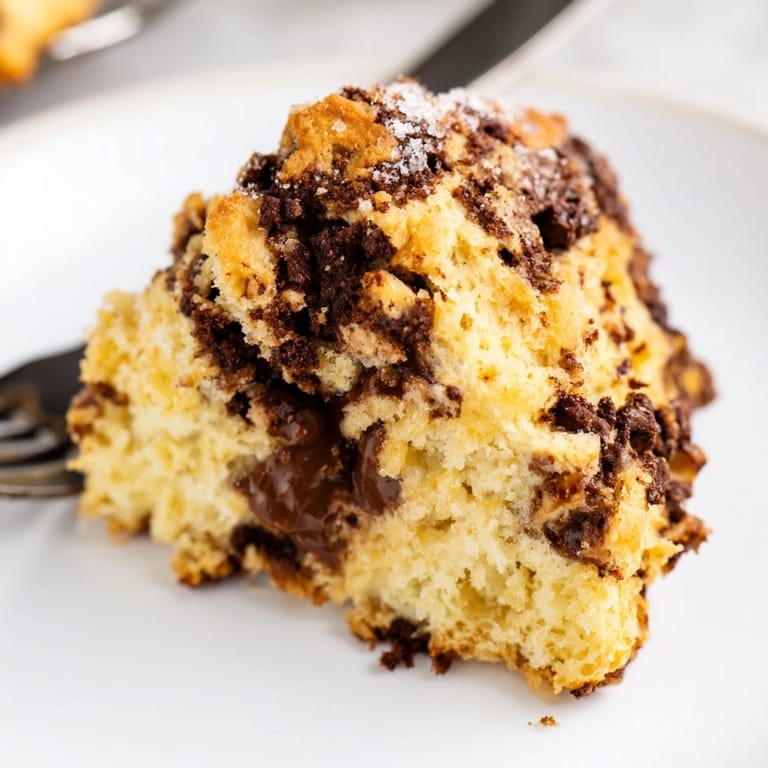
I remember making these with my kids on a rainy Saturday. We swirled in the peanut butter and they called it scone art. Now these scones show up at every family brunch because nobody can resist them warm from the oven.
Ingredients
- All purpose flour: helps hold the buttery structure tender but sturdy go for unbleached for best flavor
- Granulated sugar: just enough to give sweetness without letting the scones become cake use organic if you like
- Baking powder: gives rise for that classic tall scone shape check your can is fresh for the best lift
- Salt: sharpens every flavor always use a fine grain so it mixes evenly
- Unsalted butter: cold and cubed means flakiness choose European style for an extra rich crumb
- Whole milk: adds moisture and tenderness whole milk gives richness but any milk works in a pinch
- Large egg: binds and enriches the dough look for a bright yolk if possible
- Vanilla extract: warms and deepens the flavors real vanilla makes a big difference here
- Creamy peanut butter: the star ingredient look for smooth and salted versions for the best flavor payoff
- Semi sweet chocolate chips: bring chocolatey melty bits use good quality chocolate and even try chopped bars instead of chips if you like
- Heavy cream: brushed on top for extra golden crust try to use fresh and thick cream
- Coarse sugar: provides a beautiful crunchy finish turbinado or demerara sugar both work perfectly
Tired of Takeout? 🥡
Get 10 meals you can make faster than delivery arrives. Seriously.
One email. No spam. Unsubscribe anytime.
Instructions
- Preheat and Prep:
- Set your oven to 400 degrees Fahrenheit or 200 degrees Celsius and line a baking sheet with parchment paper to prevent sticking
- Whisk the Dry Ingredients:
- Combine flour sugar baking powder and salt in a large bowl whisk thoroughly so the baking powder distributes evenly this ensures every bite is light
- Cut in the Butter:
- Drop the cubed cold butter into your flour mix Work quickly using a pastry cutter or your fingertips to press the butter into flour Stop when you see a mix of pea sized and smaller pieces This keeps the scone crumb tender and flaky
- Mix the Wet Ingredients:
- In a separate bowl blend milk egg and vanilla with a whisk until smooth This helps even mixing later
- Bring Everything Together:
- Pour the wet mixture over the dry mixture Stir with a spatula or fork just until combined The dough will look messy and rough Resist overmixing or your scones will become dense
- Add the Swirl and Chocolate:
- Drop spoonfuls of peanut butter on top of the dough and add the chocolate chips Gently fold the dough only once or twice swirling the peanut butter through the dough but not mixing it all the way in This makes those signature ribbons
- Shape and Slice:
- Turn the dough onto a lightly floured countertop Gently pat into a disk about 7 inches wide and 1 inch thick Use a sharp knife or bench scraper to cut into 8 triangles for classic bakery wedges
- Top and Bake:
- Arrange wedges on your prepared baking sheet Give the tops a brush with heavy cream then sprinkle with coarse sugar for extra crunch
- Bake and Cool:
- Bake for around 16 to 18 minutes until scones are golden browned on top and a toothpick comes out clean from the center Let them cool briefly on the pan to set before moving to a rack
- Enjoy Warm:
- Serve while the chocolate is still melted You can never go wrong with a drizzle of extra chocolate on top
 Save
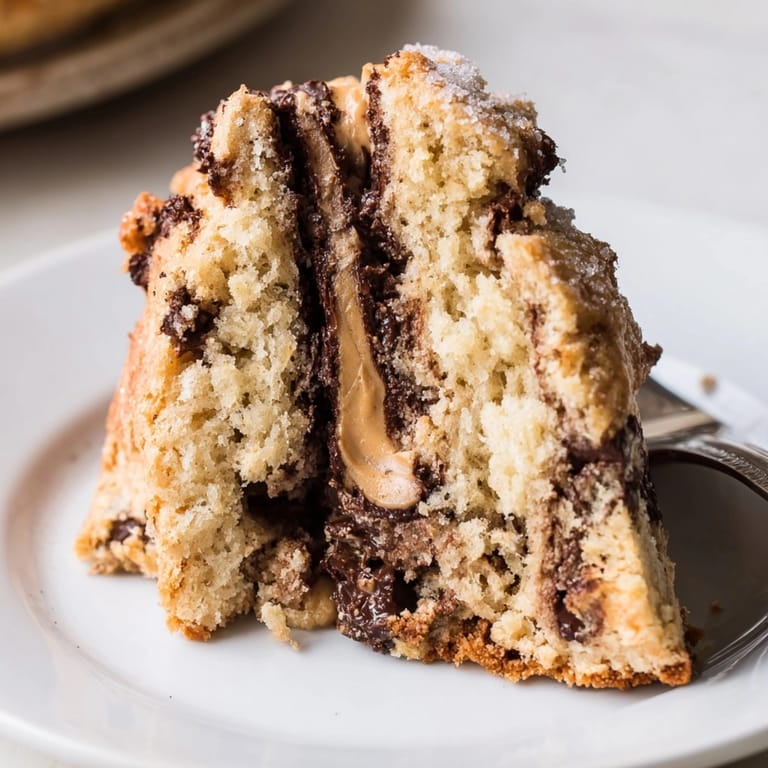
Save My favorite part about this recipe is swirling in the peanut butter and then watching it bake into golden ribbons. Once I swapped in almond butter for a friend and it was just as delicious but peanut butter brings me right back to Sunday mornings with family where these became a tradition.
Storage Tips
Store scones at room temperature in an airtight container for up to two days and they stay moist and flavorful. If you want to keep them longer refrigerate for up to five days or freeze in a heavy zip top bag for one to two months. Reheat from frozen in a low oven so the centers get gooey again.
Ingredient Substitutions
You can easily swap regular butter for a dairy free spread if you need to and substitute any milk of your choice. Almond butter works just as well to avoid peanuts and white or dark chocolate chips can be traded in for the semi sweet. If you only have chunky peanut butter use it for a textured surprise.
Serving Suggestions
Try these scones fresh with coffee or alongside a smoothie for a quick breakfast. Stack them on a brunch board with fresh fruit and yogurt for a crowd. For dessert serve slightly warm with a scoop of vanilla ice cream or a dusting of powdered sugar.
Cultural and Seasonal Inspiration
Scones have a long history as a staple in British afternoon tea but this American flavor twist brings the best of classic baking with two all time favorite ingredients. In colder months use dark or bittersweet chocolate and sprinkle with cinnamon. For warmer weather serve with sliced strawberries or even a smear of homemade jam.
 Save
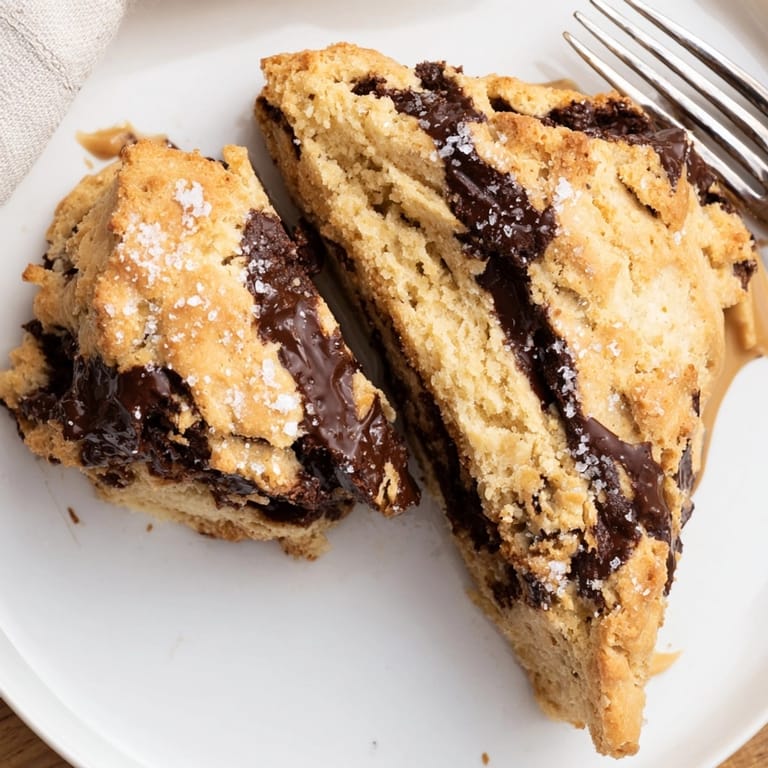
Save Make these for your next brunch and watch how quickly they disappear. Warm peanut butter swirl and melty chocolate make every bite unforgettable.
Recipe FAQ
- → How do I achieve perfect peanut butter swirls?
Add spoonfuls of peanut butter and chocolate chips after mixing wet and dry ingredients, then gently fold once or twice to avoid fully incorporating.
- → Can I make these dairy-free?
Substitute almond or oat milk for whole milk and use dairy-free butter and chocolate chips for a dairy-free version.
- → What is the best way to serve scones?
Serve slightly warm to enhance the rich peanut butter and melted chocolate flavors. A light drizzle of chocolate or glaze adds extra indulgence.
- → Can I prepare the dough ahead of time?
Shape and refrigerate the dough before baking for up to 8 hours. Bake directly from the fridge and allow a few extra minutes for baking.
- → What kitchen tools are required?
You will need mixing bowls, a pastry cutter or forks, whisk, baking sheet, parchment paper, knife or bench scraper, and a pastry brush.
- → How do I store leftover scones?
Cool completely, then store in an airtight container at room temperature for 2 days or refrigerate up to 1 week. Reheat before serving.