 Save
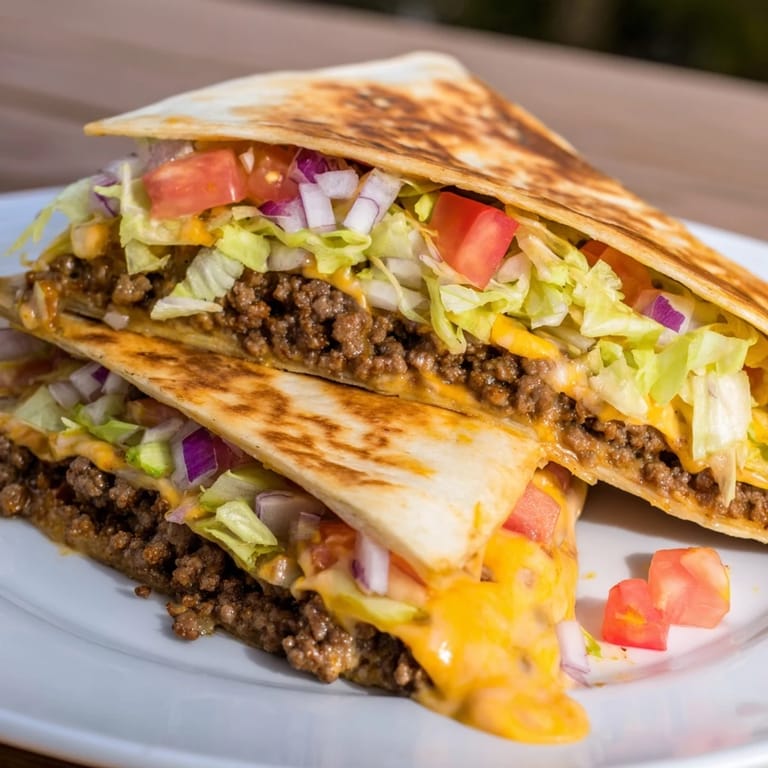
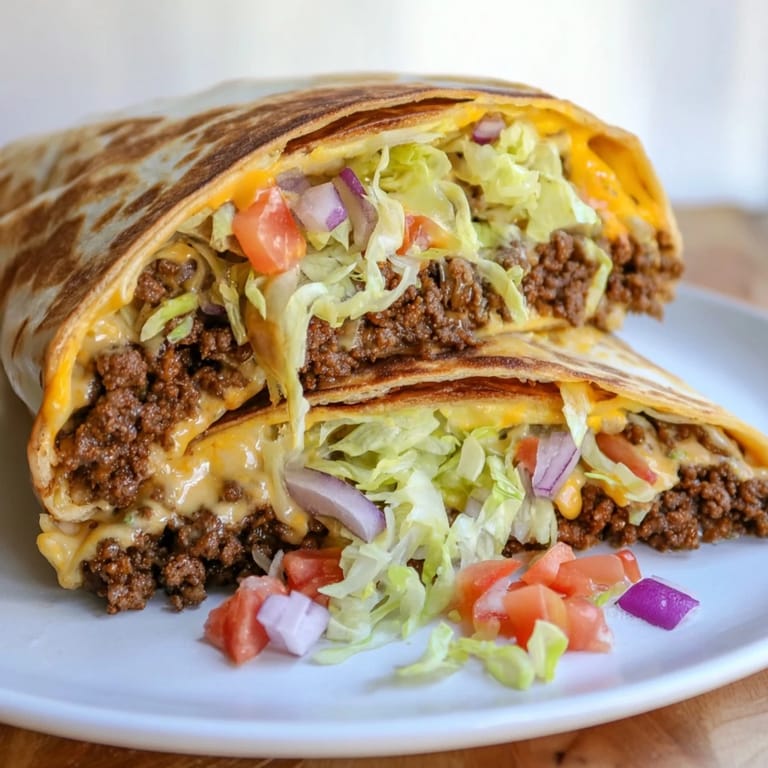
Save The first time I made a Crunchwrap Supreme at home, I was honestly just trying to satisfy a late-night craving without leaving my kitchen. I'd been staring at the Taco Bell menu on my phone for ten minutes when it hit me: why not build one myself? That night, standing at my counter with ground beef sizzling in a skillet and a tostada shell in hand, I realized this iconic fast-food creation was far more achievable than I'd thought, and somehow tasted even better when made with my own hands.
I remember making these for my roommate after they'd had the worst day at work, and watching their face light up when I handed them a warm, perfectly golden Crunchwrap was worth every minute I spent getting the folding right. They bit into it and just said, "Wait, you made this?" That reaction right there is why I keep making them.
Ingredients
- Ground beef (1 lb): The foundation of everything—use something with a little fat content so it stays juicy and flavorful instead of drying out while it cooks.
- Taco seasoning mix (1 packet): This is your shortcut to authentic flavor; if you want to go homemade, I won't stop you, but honestly the packet works beautifully here.
- Water (1/3 cup): This helps the seasoning distribute evenly and thickens as it simmers, creating that signature taco beef texture.
- Nacho cheese sauce (1 cup): The creamy, tangy layer that makes everything cohesive; store-bought is totally fine and saves you time.
- Shredded cheddar cheese (1/2 cup): Adds a sharper cheese note and helps bind the layers together once it starts to melt from the heat of the grilling.
- Sour cream (1/2 cup): Spread this generously on the tostada shell—it's the cooling element that balances the spiced beef and warm cheese.
- Large flour tortillas (4, 10-inch): These need to be flexible enough to fold without cracking; fresh tortillas work better than ones that've been sitting in your pantry for weeks.
- Tostada shells (4): The crunch component that gives this whole thing its name and character; place them carefully so they don't break before assembly.
- Shredded iceberg lettuce (1 cup): Keeps things fresh and crisp; the iceberg matters here because it holds up to grilling without wilting into mush.
- Diced tomato (1 medium): Adds brightness and a little juiciness; dice it just before assembly so it stays firm.
- Diced red onion (1/4 cup, optional): If you use it, the sharpness cuts through all the richness beautifully, but skip it if raw onion isn't your thing.
- Vegetable oil (1 tablespoon): For grilling; use something neutral that can handle medium heat without smoking up your kitchen.
Tired of Takeout? 🥡
Get 10 meals you can make faster than delivery arrives. Seriously.
One email. No spam. Unsubscribe anytime.
Instructions
- Brown the beef and build the base:
- Heat your skillet over medium and add the ground beef, breaking it apart as it cooks—you're looking for about 6 to 8 minutes of browning until there's no pink left. Drain off the excess fat (you want some, but not a pool), then add your taco seasoning and water, stirring until everything is coated and the liquid starts to thicken, which takes about 2 to 3 minutes.
- Get the cheese ready:
- While the beef is still warm, heat your nacho cheese sauce however the package tells you to—usually just a few minutes in a saucepan or microwave until it's pourable and hot. You want it warm so it adheres to everything properly.
- Assemble with intention:
- Lay a flour tortilla flat on your work surface, then spoon about a quarter of the beef into the center. Drizzle a quarter of the nacho cheese over the beef, then carefully place a tostada shell on top. Spread 2 tablespoons of sour cream over the shell, then layer on your lettuce, tomato, and cheddar cheese.
- Fold like you mean it:
- This is the crucial part: gently fold the edges of the tortilla up and over the center, creating little pleats as you go to seal everything in. If the tortilla doesn't quite reach all the way over, cut a small circle from an extra tortilla and use it as a patch before folding. You want a snug, compact bundle.
- Grill until golden:
- Heat your oil in a large nonstick skillet over medium heat, then carefully place your Crunchwrap seam-side down and let it cook for 2 to 3 minutes until the bottom is golden and crispy. Flip it gently using a wide spatula and cook the other side for another 2 to 3 minutes. Repeat with your remaining wraps.
- Finish and serve:
- Let them cool for just a minute or two so you don't burn the roof of your mouth, then slice each one in half and serve while they're still warm and everything inside is melted together.
 Save
Save There's something almost meditative about the moment when you set that folded wrap into the hot skillet and hear that immediate sizzle, watching the bottom turn golden while you hold your breath hoping the seal holds. That small victory of a successful fold never gets old, no matter how many times I make these.
The Folding Technique That Changes Everything
Folding is honestly the thing that intimidated me most the first time, but once I realized it's less about precision and more about creating enough overlap to seal the filling inside, everything clicked. The key is to fold in sections rather than all at once—bring one side up, then the adjacent side, then the third, then the fourth, creating a kind of envelope shape. If you feel the shell shifting inside, that's actually fine; just work gently and you'll get there. I've seen people overthink this and create stiff, burrito-like rolls, but you really want something that's compact but still has soft, layered edges that can crisp up nicely.
Building Flavor Layers That Work Together
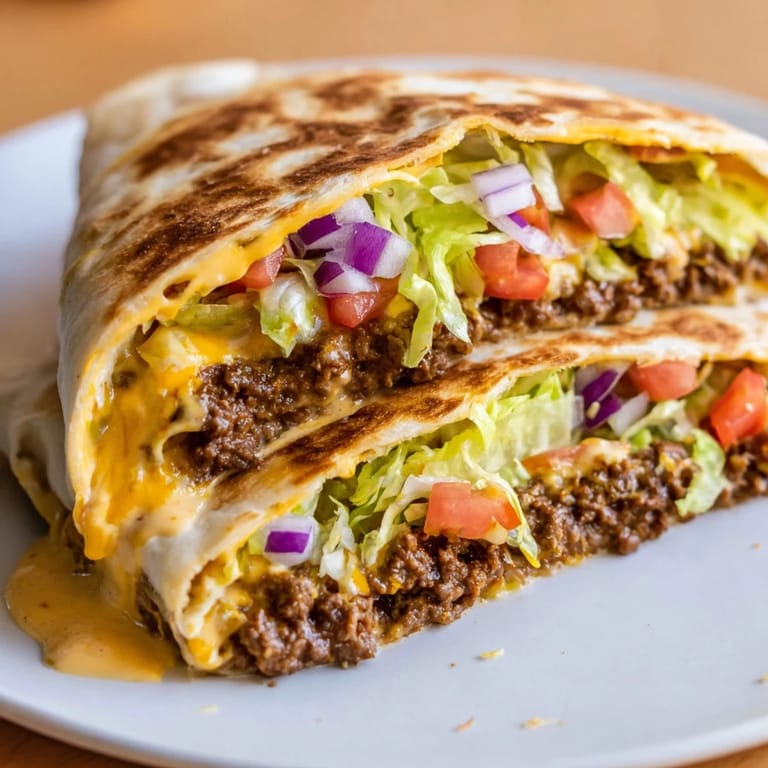
What makes this dish more satisfying than just throwing everything into a tortilla and eating it is the intentional layering—the beef sits directly against the warm tortilla so those flavors meld, then the nacho cheese creates a moisture barrier and adds tanginess, then the sour cream on the shell is cool and rich, and the vegetables add freshness on top. Every component has a job, and when you respect that order, each bite feels well-balanced. I used to just dump everything in at once until my friend pointed out that I was basically eating a taco salad wrapped in fried dough, and once I started layering deliberately, the whole experience became something different.
Variations and Customizations That Work
Once you've made the classic version a few times and feel confident with the assembly and grilling, this is actually a really fun base to play with. I've made versions with jalapeños folded into the filling, added bacon crumbles, swapped the beef for seasoned ground turkey, and even done a version with refried beans and extra cheese for vegetarian friends. The structure of the wrap stays the same, but these small changes keep it from feeling repetitive. Some nights I add a squirt of hot sauce into the fold, other times I skip the red onion entirely and add pickled jalapeños instead for more zing. The beauty is that the folding and grilling method works no matter what filling you choose, as long as you respect the layering principle.
- Try adding crispy bacon crumbles or breakfast sausage for a heartier, protein-packed version.
- Experiment with different cheese blends—a mix of Monterey Jack and Oaxaca gets wonderfully melty and adds complexity.
- Make a spicy chipotle ranch by mixing sour cream with minced chipotles in adobo sauce for an upgrade to the cooling layer.
 Save
Save Making Crunchwraps at home turned what used to be an occasional drive-thru impulse into something I actually look forward to cooking. There's something satisfying about creating that crispy, melted exterior and biting into all those distinct layers, knowing you made it happen.
Recipe FAQ
- → How do I prevent the crunchwrap from falling apart while folding?
Ensure you pleat the tortilla edges tightly around the fillings and use an extra tortilla circle to fully cover any exposed filling before folding and grilling.
- → Can I substitute the beef with other proteins?
Absolutely! Ground turkey, chicken, or plant-based crumbles work well as alternatives and can be seasoned the same way for similar flavor.
- → What type of cheese works best for the filling?
Nacho cheese sauce provides creamy richness while shredded cheddar adds sharpness and texture. Combining both gives a balanced cheesy flavor.
- → How should the crunchwrap be cooked for best texture?
Grill the folded crunchwrap on medium heat with oil seam-side down until golden and sealed, then flip to crisp the other side for a perfect crunch.
- → Are there any tips for making the filling more flavorful?
Simmer the ground beef with taco seasoning and water to develop deeper flavors, and consider adding fresh diced onions or jalapeños for additional zest.