 Save
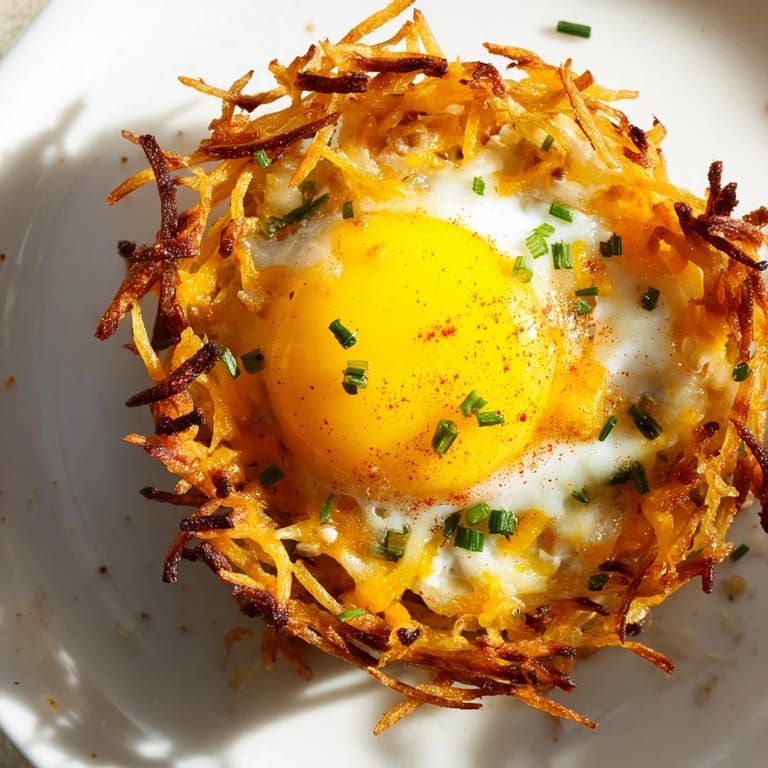
Save I stumbled onto these crispy hashbrown egg nests on a Sunday when I had leftover shredded potatoes and no bread for toast. Pressing them into muffin tins felt like a gamble, but when they came out golden and crunchy, I cracked eggs right into the centers. The kitchen smelled like a diner, and my kids thought I'd invented something genius. Now they ask for these little potato cups every weekend.
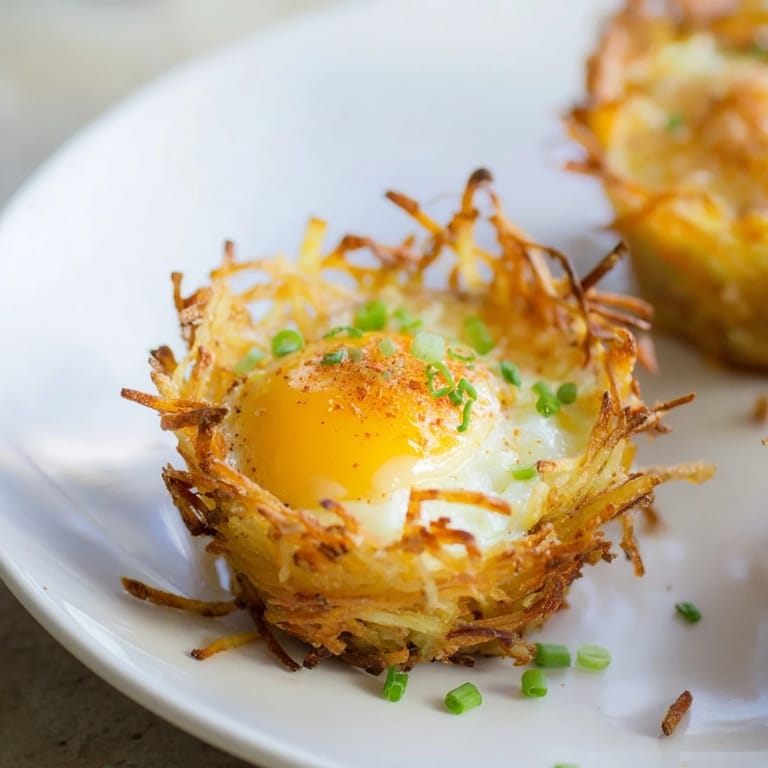
The first time I served these at brunch, my neighbor picked one up with her fingers and said it tasted like breakfast and a snack had a baby. She was right. Theyre sturdy enough to grab, but fancy enough that people think you planned ahead. I watched three of them disappear off her plate before she even sat down.
Ingredients
- Shredded russet potatoes: Russets get crispier than other potatoes because theyre starchy, and rinsing them removes extra starch so they dont turn gummy in the oven.
- Salt and black pepper: These season the potato base, and you need them right in the mix or the nests taste flat.
- Melted unsalted butter: Butter helps the potatoes crisp up and adds a rich flavor that oil just cant match.
- Large eggs: The star of the filling, they bake right into the potato cups and stay tender if you dont overcook them.
- Shredded cheddar cheese: Cheddar melts beautifully and brings a sharp, salty contrast to the mild potatoes and eggs.
- Chopped scallions or chives: Fresh green flavor that brightens up every bite and makes them look more alive.
- Paprika: Just a pinch adds color and a hint of smoky warmth, though you can skip it if youre out.
Tired of Takeout? 🥡
Get 10 meals you can make faster than delivery arrives. Seriously.
One email. No spam. Unsubscribe anytime.
Instructions
- Prep Your Pan:
- Preheat your oven to 400°F and grease a 12 cup muffin tin generously with nonstick spray or butter. Dont skip the grease or youll be prying these out with a spoon.
- Mix the Potato Base:
- In a large bowl, toss together the shredded potatoes, salt, pepper, and melted butter until every shred is coated. The butter should glisten on them.
- Form the Nests:
- Press about 1/4 cup of potato mixture firmly into each muffin cup, pushing it up the sides to make a little bowl shape. Pack it tight so it holds together when it bakes.
- Bake the Shells:
- Slide the pan into the oven and bake for 15 to 20 minutes, until the edges turn golden and crispy. The centers will still be pale, and thats fine.
- Add Cheese and Greens:
- Pull the pan out and sprinkle a little cheese and some scallions or chives into each nest. This creates a flavorful cushion for the eggs.
- Crack in the Eggs:
- Gently crack one egg into each potato cup, then sprinkle the tops with paprika, more cheese, and more scallions. Try not to break the yolks if you want them runny.
- Finish Baking:
- Return the pan to the oven and bake for 10 to 12 minutes, until the egg whites are set but the yolks are still soft. Watch them closely near the end.
- Cool and Remove:
- Let the nests cool in the pan for 3 to 5 minutes, then run a butter knife around the edges and lift them out gently. Serve warm with extra chives and hot sauce if you like.
 Save
Save One morning my daughter asked if she could help crack the eggs into the nests, and I let her. She broke two yolks and got shell in one cup, but she was so proud when they came out of the oven that she ate three. That day I realized these little potato cups werent just breakfast, they were a reason to slow down and cook together.
How to Get the Crispiest Nests
The secret is squeezing out as much water as possible from the shredded potatoes after you rinse them. I wrap them in a clean kitchen towel and twist it over the sink until my hands hurt. The drier the potatoes, the crispier the edges, and if you want them extra crunchy, bake the shells a few minutes longer before adding the eggs. You can also brush the insides with a little extra melted butter halfway through the first bake.
Make Ahead and Storage Tips
You can bake the potato shells the night before and store them in the fridge, then fill and bake them with eggs in the morning. It cuts your prep time in half and the shells reheat beautifully. Leftover nests keep in an airtight container in the fridge for up to three days, and you can reheat them in a 350°F oven for about 10 minutes. The yolks wont be runny anymore, but theyre still delicious.
Fun Variations to Try
These nests are a perfect base for whatever you have in the fridge. Ive tucked in crumbled cooked bacon, sautéed mushrooms, diced bell peppers, and even leftover roasted vegetables. You can swap cheddar for pepper jack if you like heat, or try Swiss for something milder. My favorite twist is adding a pinch of smoked paprika and a few cherry tomato halves before baking the eggs.
- Add cooked sausage crumbles or diced ham for a meatier version
- Stir a little garlic powder into the potato mixture for extra flavor
- Top with sour cream, salsa, or avocado slices after baking
 Save
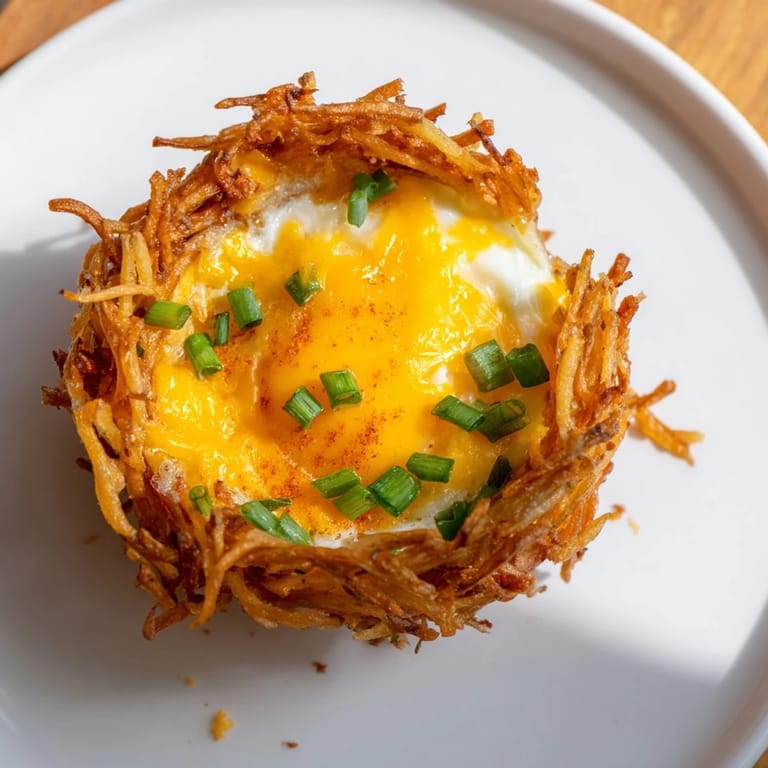
Save These hashbrown egg nests have become my favorite way to make breakfast feel special without spending an hour in the kitchen. Theyre crispy, cheesy, and just fun to eat, and every time I pull them out of the oven, someone smiles.
Recipe FAQ
- → How do I achieve crispy potato nests?
Ensure potatoes are well-drained before mixing with butter and seasoning. Bake nests until edges turn golden before adding eggs.
- → Can I prepare these potato cups in advance?
Yes, you can bake the nests ahead, refrigerate, and add eggs before finishing baking when ready to serve.
- → What cheese works best for these potato cups?
Cheddar is classic, but Swiss, mozzarella, or pepper jack also provide delicious variations.
- → Are there vegetarian options for this dish?
This version is vegetarian-friendly as it contains eggs and dairy but no meat.
- → How can I add extra flavor or texture?
Try adding cooked bacon, sautéed vegetables, or sprinkling paprika and fresh chives as garnish.