 Save
Save The aroma of hojicha powder hitting a warm mixing bowl stopped me mid-conversation last autumn—my friend had brought back a tin from Tokyo, and I couldn't resist turning it into something tender and layered. What started as curiosity about that roasted, almost nutty fragrance became this gluten-free cake that somehow tastes both refined and comforting at once. The coconut frosting was an afterthought that turned out to be the perfect creamy counterpoint to the earthy tea notes. I've made it three times since, each time a little more confident about not overmixing the batter.
I brought this to a book club gathering on a rainy evening, and watching everyone pause mid-conversation to really taste it reminded me why baking matters. One person asked if I'd bought it from a bakery—I think that's when I knew the recipe had gotten past the experimental stage.
Ingredients
- Gluten-free all-purpose flour blend: This is the foundation—choose one with xanthan gum already mixed in to avoid the grainy texture that haunted my early attempts.
- Almond flour: It keeps the crumb tender and adds a subtle richness that compensates for the absence of eggs.
- Hojicha powder: Source the highest quality you can find; cheaper versions taste dusty and bitter instead of warm and roasted.
- Baking powder and baking soda: Together they create lift and a slight tender crumb—don't skip the baking soda, it matters.
- Unsweetened almond milk with apple cider vinegar: This vegan buttermilk is the secret to moisture; the acidity activates the leavening beautifully.
- Maple syrup: It dissolves smoothly into the wet ingredients and brings a gentle sweetness that lets the hojicha shine.
- Coconut oil: Melted coconut oil keeps the cake moist and adds a subtle flavor that complements the tea.
- Full-fat coconut milk: Refrigerate it the night before so the solid cream separates—this is non-negotiable for frosting that actually holds its shape.
Tired of Takeout? 🥡
Get 10 meals you can make faster than delivery arrives. Seriously.
One email. No spam. Unsubscribe anytime.
Instructions
- Set your stage:
- Preheat the oven to 350°F and prepare your 8-inch pan with parchment paper, making sure it's properly greased so the cake releases cleanly. Having everything ready before you start mixing means you won't rush the batter once it's combined.
- Make your vegan buttermilk:
- Combine almond milk and apple cider vinegar in a small bowl and let it sit for five minutes—you'll see it start to curdle and thicken slightly. This step is essential; it gives the cake its tender crumb and helps activate the leavening.
- Whisk the dry ingredients:
- In a large bowl, combine your gluten-free flour, almond flour, hojicha powder, baking powder, baking soda, and salt, stirring until the hojicha is evenly distributed. Take a moment to smell this mixture—that's the flavor promise you're about to bake.
- Combine the wet ingredients:
- Pour your vegan buttermilk into another bowl with the maple syrup, melted coconut oil, and vanilla extract, stirring until smooth and unified. The mixture should look glossy and cohesive.
- Bring it together gently:
- Pour the wet mixture into the dry ingredients and fold together with a spatula using minimal strokes—you want some flour streaks still visible. Overmixing develops gluten and creates a tough crumb, so trust that a few lumps are better than a perfectly smooth batter.
- Into the oven:
- Transfer the batter to your prepared pan, smooth the top with the back of a spoon, and bake for 30 to 35 minutes until a toothpick inserted in the center comes out clean. The kitchen will smell incredible during this time.
- Cool with patience:
- Let the cake rest in the pan for 10 minutes—this helps it set without sticking—then turn it out onto a wire rack to cool completely. Rushing this step and frosting a warm cake is a common mistake that results in melted frosting pooling everywhere.
- Prepare the frosting:
- Open your refrigerated coconut milk can and scoop out only the solid cream layer into a bowl, reserving the liquid for smoothies or tea. Beat the coconut cream with maple syrup and vanilla until it's fluffy and spreadable, about 3 to 5 minutes.
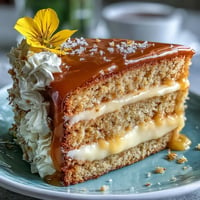
- Frost and garnish:
- Spread the coconut frosting evenly over the cooled cake with an offset spatula, then dust the top with hojicha powder and toasted coconut flakes. The gentle color contrast looks beautiful.
 Save
Save My neighbor knocked on the door the next morning asking if I was baking again, and somehow a slice became part of our weekly coffee ritual. Small moments like that remind me why I keep coming back to this recipe.
The Science Behind the Tea Flavor
Hojicha is green tea that's been roasted at high temperatures, which removes the grassy notes and deepens it into something warm, slightly smoky, and almost nutty. When you bake with it, that roasted character becomes even more pronounced because the heat concentrates the flavors further. I've tried using regular matcha powder before out of curiosity, and it made the cake taste thin and vegetal—hojicha's maturity is what makes this dessert feel sophisticated instead of trendy.
Why Coconut Milk Frosting Works
Coconut cream separates from its liquid when chilled, creating a rich, whippable base that mimics the texture of whipped butter without any dairy. The key is using full-fat coconut milk and chilling it long enough for complete separation. I learned this the hard way by using coconut milk that was only an hour cold—the frosting stayed runny and I had to scrape it off and start over, which taught me patience has actual value in baking.
Variations and Serving Ideas
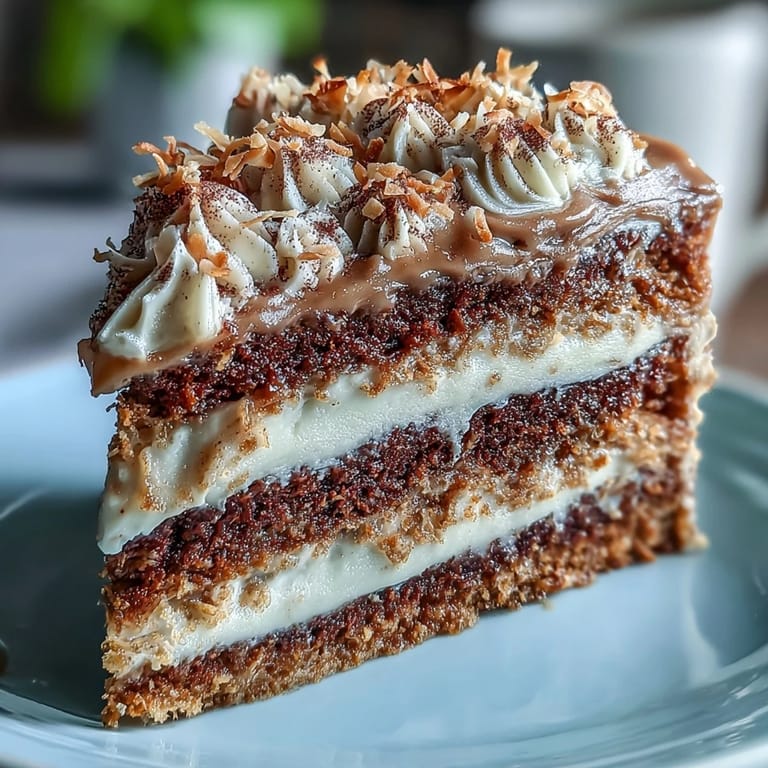
This cake feels elegant as-is, but there's room to play without losing its character. Some people layer it between two thinner cakes for a taller, showier presentation, or add a thin layer of hojicha-infused buttercream between the layers. Serve it alongside matcha tea or light oolong, or pair it with sake if you're feeling adventurous—the dessert's earthiness complements both beautifully. Here are some ways to make it your own:
- Double the recipe to make a two-layer cake, creating a more dramatic dessert that feeds a small crowd.
- Brush each cake layer with a light hojicha simple syrup before frosting for added moisture and depth.
- Toast your coconut flakes yourself right before garnishing so they're warm and fragrant rather than stale-tasting.
 Save
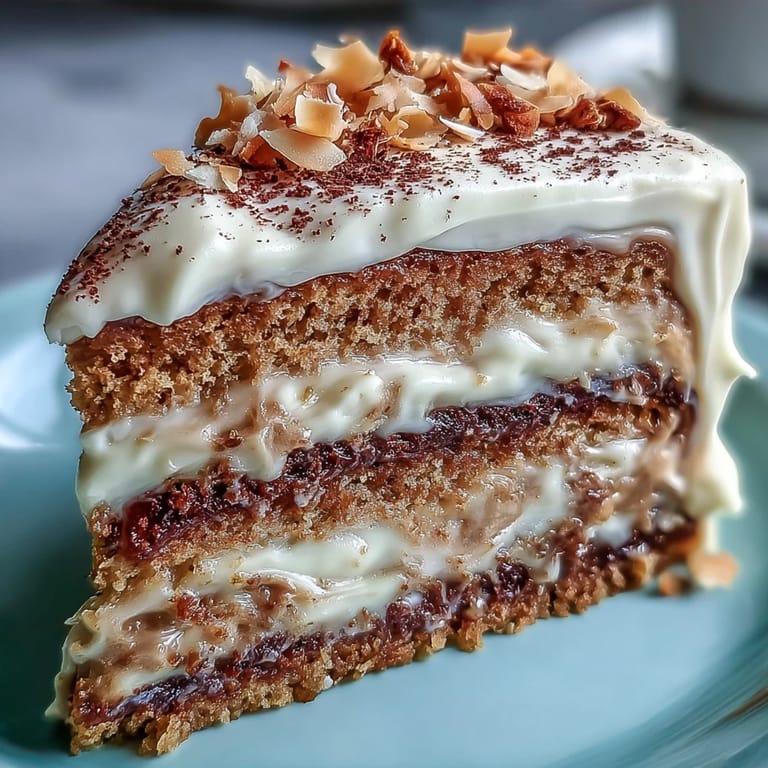
Save There's something grounding about a slice of this cake with tea in hand, knowing you made something beautiful that tastes as thoughtful as it looks. I hope it becomes a regular in your kitchen too.
Recipe FAQ
- → What does hojicha taste like?
Hojicha offers a distinct roasted, earthy flavor with notes of caramel and subtle smokiness. Unlike matcha's grassy brightness, hojicha provides a mellower, less astringent profile that pairs beautifully with sweet elements like coconut and maple.
- → Can I use regular flour instead of gluten-free blend?
Yes, substitute the gluten-free all-purpose flour blend with an equal amount of regular wheat flour. The texture will remain similar, though the cake will no longer be gluten-free.
- → How do I ensure the coconut milk whips properly?
Refrigerate a can of full-fat coconut milk overnight, then carefully scoop out only the solid cream that rises to the top. Avoid including the watery liquid at the bottom—save that for smoothies or other uses.
- → Can I make this cake in advance?
The unfrosted cake can be baked a day ahead and stored wrapped at room temperature. Add the coconut frosting on the day of serving for the freshest texture and appearance.
- → What can I use instead of almond flour?
Finely ground hazelnut flour or additional gluten-free all-purpose flour blend can replace almond flour. Both alternatives maintain moisture while altering the nutty flavor profile slightly.
- → How should I store leftovers?
Keep frosted slices in an airtight container in the refrigerator for up to 3 days. The coconut frosting firms when chilled, so let pieces sit at room temperature for 15 minutes before serving for optimal texture.